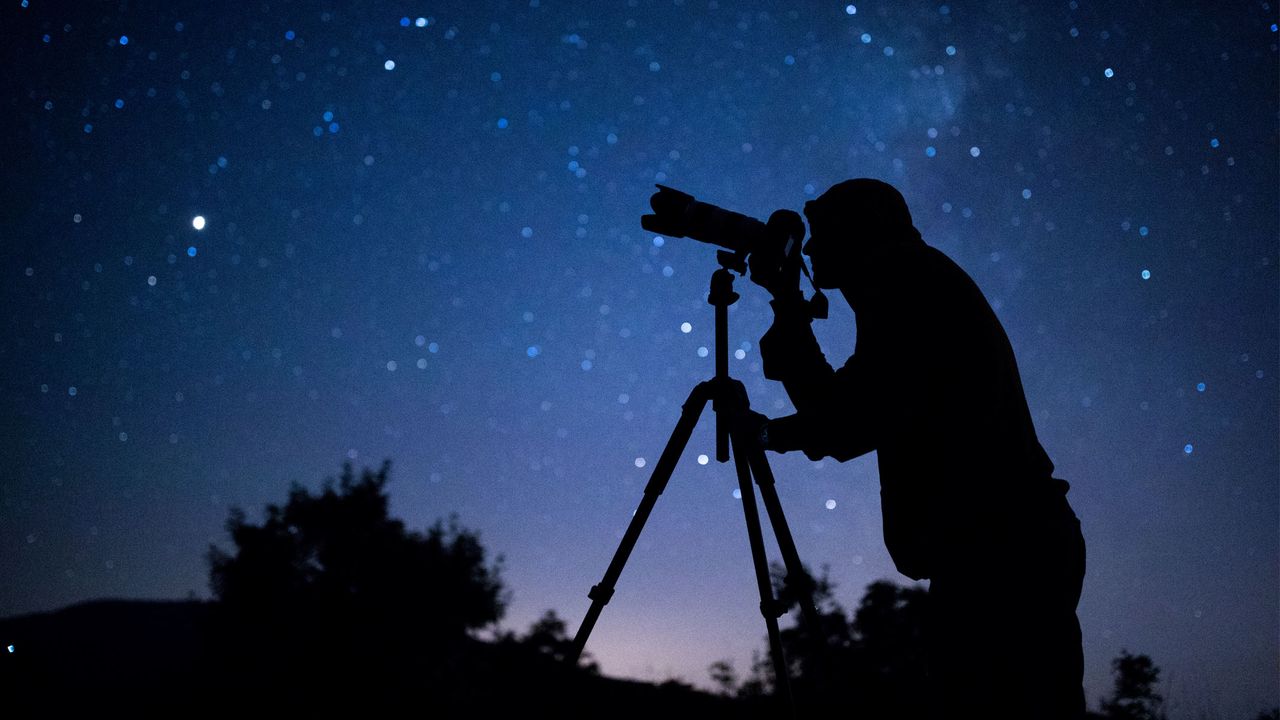
Astrophotography has gained significant traction, particularly among younger generations like Gen Z. As interest in capturing the night sky grows, enthusiasts face a steep learning curve. The transition from daytime photography to night-time shooting introduces challenges such as manual settings and long exposure times. Unlike traditional photography, which often relies on auto modes, astrophotography demands a different skill set to capture celestial phenomena effectively.
Understanding the various techniques involved in astrophotography is crucial for beginners. The range of methods varies from simple tripod-mounted nightscapes to complex deep-sky imaging setups utilizing telescopes. Each approach requires different levels of commitment regarding gear, skill, and time investment. Here are five popular techniques to consider when venturing into astrophotography.
1. Start with Smartphones
For those new to astrophotography, using a smartphone can be an accessible entry point. Modern flagship smartphones often feature ‘night modes’ capable of capturing stars, the Milky Way, and even auroras without extensive equipment. Shooting in RAW format is recommended to maximize image quality, and utilizing a tripod can significantly enhance results. While smartphones have limitations, they serve as a reminder that technique is just as vital as equipment.
2. Mirrorless or DSLR Cameras on Tripods
Many astrophotographers begin their journey with mirrorless or DSLR cameras mounted on sturdy tripods. This versatile method allows for capturing stunning starry skies, particularly during optimal times for photographing the Milky Way, typically from April through September. With a wide-angle lens set to its maximum aperture, users can achieve beautiful shots, keeping exposure times between 25-30 seconds to avoid star trailing. Pairing the night sky with an interesting foreground, such as a landscape or city skyline, can further enhance the composition.
Once comfortable with the basics, enthusiasts can explore more advanced equipment.
3. Using a Star Tracker
After mastering initial techniques, many photographers invest in a star tracker. These compact, motorized mounts rotate in sync with the Earth, allowing for much longer exposures without the risk of star trailing. This setup leads to more vibrant images with clearer details of faint celestial objects. Although the setup requires polar alignment—often a challenge for those unfamiliar with celestial navigation—it bridges the gap between casual night photography and serious astrophotography.
4. Exploring Smart Telescopes
Smart telescopes represent a significant advancement in astrophotography. These all-in-one systems integrate a small telescope, image sensor, filters, and a motorized mount controlled via smartphone or tablet. Instead of single long exposures, smart telescopes capture numerous short exposures and stack them to reduce noise, revealing colorful images of deep-sky objects. This user-friendly equipment is ideal for beginners, especially in light-polluted areas where traditional astrophotography can be frustrating. However, using smart telescopes does limit creative control.
5. Deep-Sky Imaging with Telescopes
For those desiring complete creative control, deep-sky imaging with a telescope offers the most rewarding experience. This method requires a telescope, an astronomy camera, and a laptop, along with access to dark skies and favorable weather. Photographers can capture intricate details of faint objects like distant galaxies and planetary nebulae. This setup demands significant investment in time, money, and technical skills, making it suitable for dedicated enthusiasts.
Camera Settings for Astrophotography
To achieve stunning night sky images, a solid understanding of camera settings is essential. Transitioning to manual mode and shooting in RAW are fundamental steps. Using a wide-angle lens with a maximum aperture (between f/1.4 and f/2.8) allows for optimal light capture. Focus manually on a bright star or distant object using live view for the sharpest results.
Balancing ISO and shutter speed is key to obtaining clean images. Starting with an ISO of 800 is advisable, but newer camera models can handle much higher settings, even beyond ISO 6400. Shutter speeds should range from 10 to 25 seconds, depending on lens focal length.
To enhance compositions, consider incorporating interesting foreground elements like buildings or natural landscapes. A compelling foreground can elevate an otherwise simple starry sky image.
Astrophotography does not require an elaborate or costly setup. A mirrorless camera, fast wide-angle lens, and tripod offer an effective hybrid solution for both day and night photography. As skills progress, adding a star tracker can facilitate deeper exploration into the world of astrophotography. Whether starting with a smartphone or advanced equipment, the essential ingredients remain consistent: dark skies, patience, and a willingness to practice under the stars.